So, how does the casting process really work?
We've spent the last 40+ years perfecting our services and processes for manufacturers across the globe to enjoy. It's how we can keep doing what we love and provide the best quality products on the market.
To begin...
We take in your masters, wax carvings, 3D Prints, ideas, designs or moulds and process them for moulding and/or casting.
Preperation
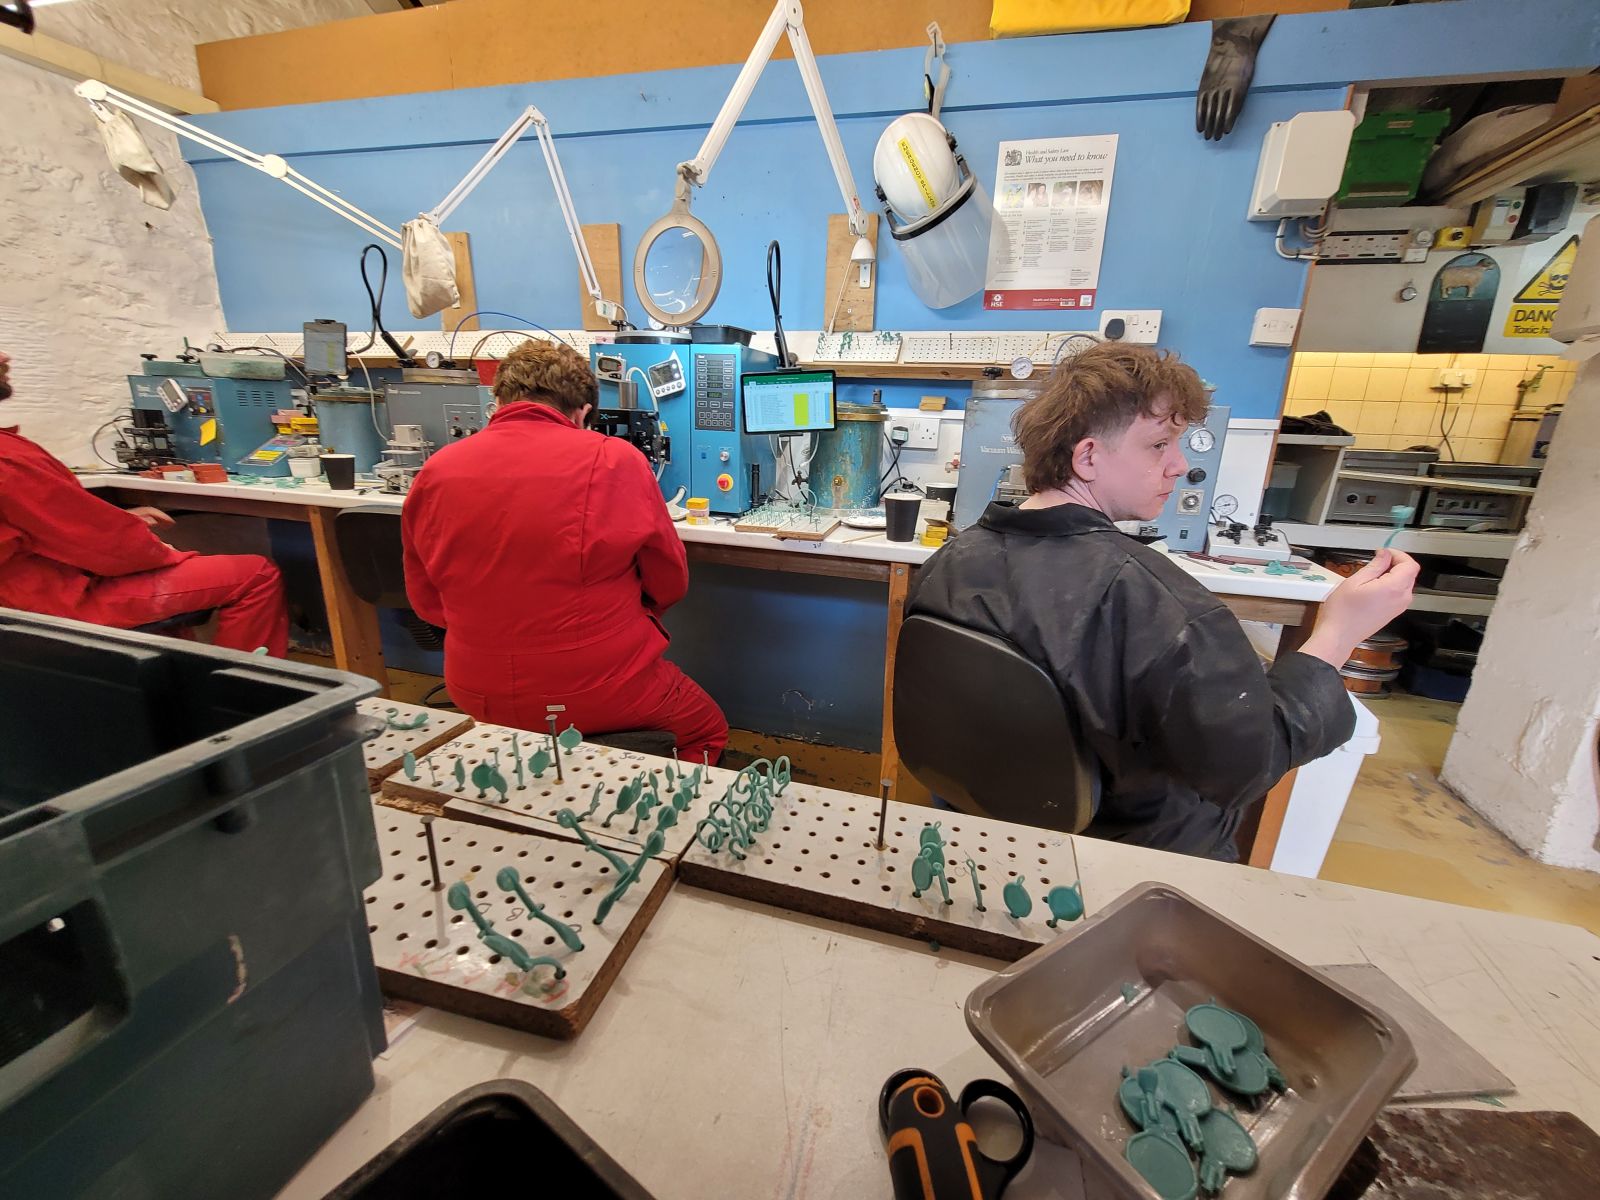
Masters have moulds made and the moulds are filled with wax, the waxes are then added to a tree. Direct cast items are added directly to a tree.
Casting
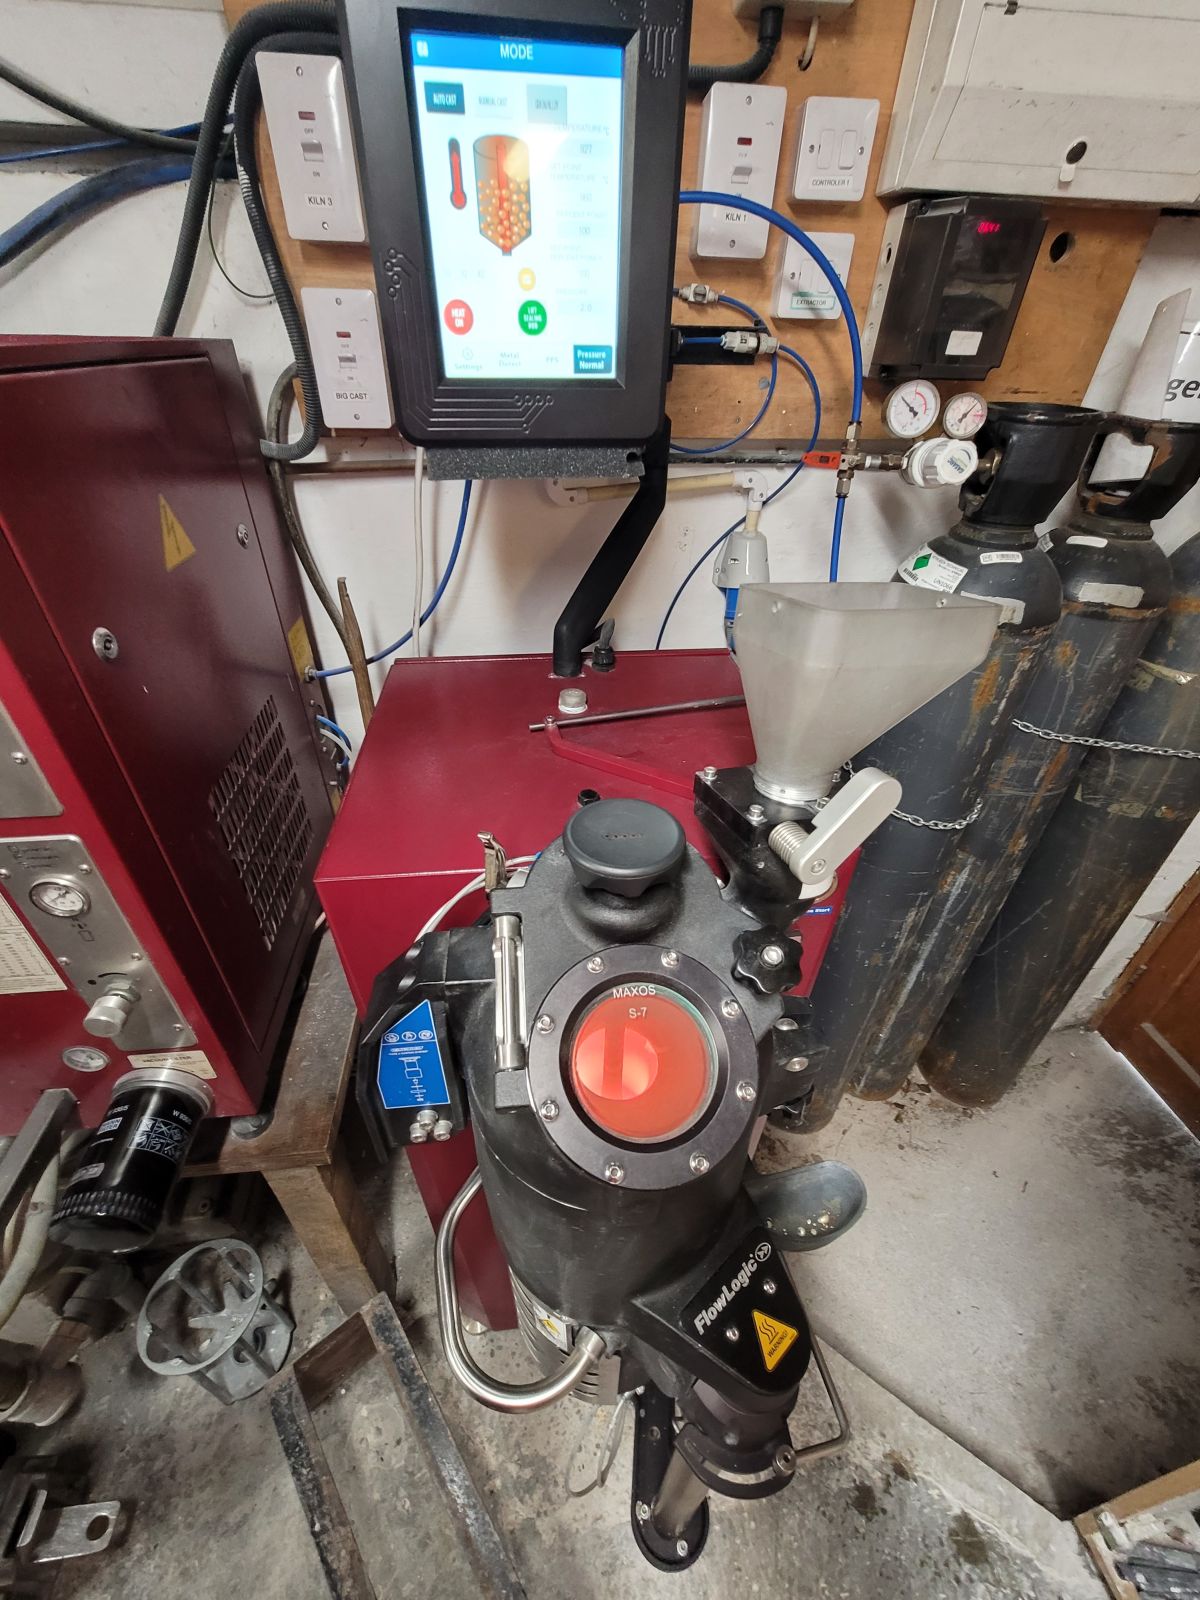
Trees are placed in flasks, covered with investment plaster and fired in a kiln to melt out the wax and cure the plaster. The flask is then ready to have molten metal poured in. Culminating in quenching with lots of steam and hissing revealing a tree of perfect castings.
Finishing
We then snip the castings from the tree ready for cleaning and pin polishing. The now shiny castings have their sprue removed, ready for inspection and weighing. Most go for dispatch but a few for further processing.
Dispatch
Once our quality control has been passed, the castings are weighed and sent for dispatch. The invoice is then prepared and emailed to you with the Special Delivery tracking number.


Got something for us to cast?
Start your order below or get in touch to discuss your jewellery casting needs.
Understanding the lost-wax casting process
Lost wax casting, also known as investment casting, is a traditional technique that has been used since The Egyptians to create intricate and detailed jewellery and other small metal items. This process allows manufacturers, jewellers and makers to produce precise and high-quality pieces, whether for bespoke designs or larger production runs. The art of casting has since moved on to the science of casting giving us precise control over all of the stages in this fascinating process. Here's how it works:
1. Creating the wax model
The lost wax casting process begins with the creation of a wax model. This is an exact replica of your design in wax. It can be hand-carved, produced using CAD (Computer-Aided Design) and CAM (Computer-Aided Manufacturing) technology or, more often than not, by injecting wax into a silicone rubber mould of your design. These all ensure exceptional detail and accuracy.
2. Making the plaster mould
Once the wax model is complete, it is encased in a special investment plaster to create a plaster mould, called a flask. This material is incredibly high definition, allowing it to capture every detail of the wax model. After the mould has dried and hardened, it is heated in a kiln, which melts and drains the wax, leaving behind a cavity in the shape of your design. The heating continues upwards to 740°C converting the plaster to a basic, tough ceramic. This stage is crucial, as it forms the hollow for the molten metal. There could be up to 200 items in each flask!
3. Pouring the metal
The mould is then cooled to the correct temperature to prepare it for casting. The chosen metal alloy, such as gold, silver, or brass, is melted in a crucible under a nitrogen cover and at the precise temperature (to the degree!) poured into the mould. The high temperature ensures that the metal flows smoothly into all the fine details of the cavity. We give the metal a wee shove with 40psi of nitrogen. Once filled, the mould is left to cool and solidify.
4. Revealing the casting
After the metal has cooled, the ceramic mould is quenched to reveal the metal casting. This initial casting is still attached to a central core via sprues. These are now snipped off and meticulously cleaned by burnishing in pin polishers. These are now ready for quality inspection before dispatch to you unless...
5. ...you require finishing services?
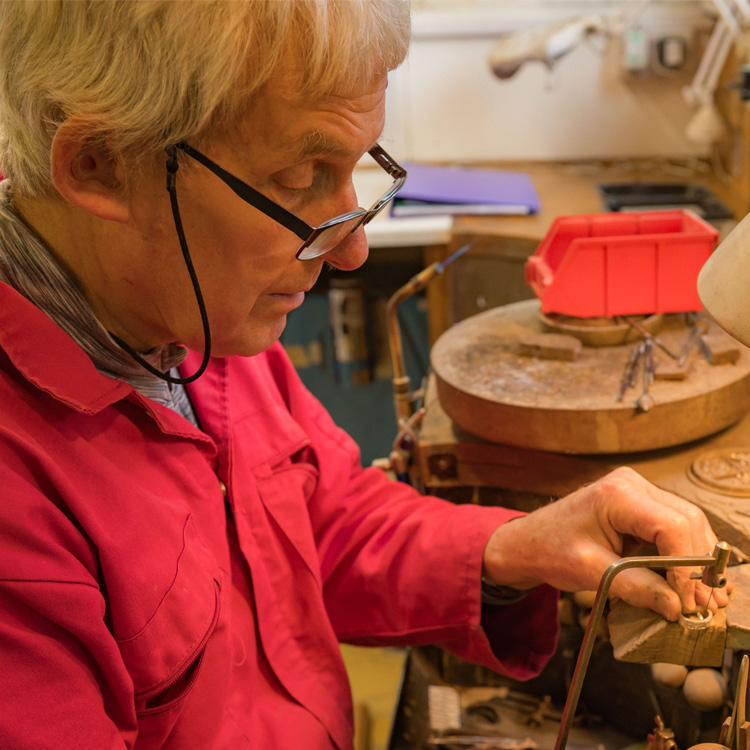
We have various stages of finishing services available starting with removing sprues and readying the insides of rings and bangles for polishing. On top of this we can offer further stages of finishing - soldering jump rings, ear posts right through to fully polished items.
